Wednesday, October 30, 2013

Easy Eyeball Cookies

Easy, Peasy, DIY Eyeball Cookies
for Halloween!
Buy some minis of your favorite sandwich cookies,
gummy Lifesavers,
almond bark or white chocolate,
and semi-sweet chocolate chips.
Gather some bowls, a cutting board and some forks, a knife and large spoon.
Chop up your almond bark or white chocolate on your cutting board
(you don't want to knick your counters or table!)
Melt in the microwave at 30 second intervals,
stirring between each...
until almost melted, then stir until the remaining bark is smooth.
It took my microwave 2 1/2 minutes.
 
Now dump your lifesavers, chocolate chips and cookies
into separate bowls...
drop several cookies into your melted bark
then dunk and lift them out with the forks.
I dipped about a dozen cookies (I'm fast)
and then topped with a lifesaver and chocolate chip each.
Let dry...
then serve in a jar or on a plate....
enjoy!
(Last year, the picture above, I used mini Nutter Butters,
which is a slightly larger mini cookie than the Oreos)
But both turned out great, and very yummy for the tummy!
 
Keep Calm and Kerri On!

Tuesday, October 29, 2013

Are We Committing the Sin of Blasphemy Without Even Realizing It?

I am learning so much lately.  Not only because I now work for a Christian Book Store - which means  I am surrounded by inspiring books all day...but also by getting active in my church.  I have learned that the Holy Spirit speaks to you when you not only listen to His word, but "study" His word, by actually "opening" the bible...reading...praying.   I am becoming a new person and have found myself questioning a lot of what I have been doing for the past, oh....say, 40 years!

One of the people I really enjoy to listen to and watch, is Kirk Cameron.  Of course, I first noticed him when he was on Growing Pains, but now he is an Evangelical Christian.  I watched him on youtube "The Way of the Master"... (click on the link below, to see one of these videos)

http://youtu.be/gqNDdCzOGTI

This made me look at myself closer.  Wow, how many times have I tried to show shock at something and said:

  "oh my God!" or "Jesus!"

... that is taking the name of the Lord in vain.
This is BLASPHEMY.
Was I meaning it to be "against God" ...purposely committing blasphemy? No....but that doesn't change the fact that it is just that:  Blasphemy. 

Of course, I'm not the only one....I hear this all the time...all the time!  Even on television, on the movies.  It's common now.  Whoa!  What has happened to us?  My grandmother would've washed my mouth out with soap.  Shame on me....but now I know.
I think a lot of us here in America, me included, have decided to live with what the world has decided is right, and not what the bible has outlined. I know I must read the bible, daily. Read, actually open up my Bible.  Read it. Daily. Daily, to keep me on the narrow path.  I do not want to be a "blasphemer"....that is a word, right?  One who commits blasphemy.  Yes. 

 
It is in Matthew 12:31-32
and also in Mark 3:28-30 Jesus said:  "Truly I tell you, people can be forgiven all their sins and every slander they utter, but whoever blasphemes against the Holy Spirit will never be forgiven; they are guilty of an eternal sin. " He said this because they were saying "He has an impure spirit."

 
The definition of Blasphemy from Wikipedia:
Blasphemy is the act of insulting or showing contempt or lack of reverence for God, to religious or holy persons or things, or toward something considered sacred or inviolable.

Holman Bible Dictionary

Blasphemy


is a transliteration of a Greek word meaning literally “to speak harm.” In the biblical context, blasphemy is an attitude of disrespect that finds expression in an act directed against the character of God.
 
I plan on never making that terrible mistake again, of taking the Lord's name in vain.  Will you join me?
 
May the Lord Bless You and Keep You...
Keep Calm and Kerri On!


Saturday, October 26, 2013

DIY Paper Snowflakes

Remember making Christmas Decorations as a kid?
Glue, glitter, paper, scissors....
"Homemade" decorations and ornaments are becoming a lost art...
so let's start by "Saving the Paper Snowflakes"!
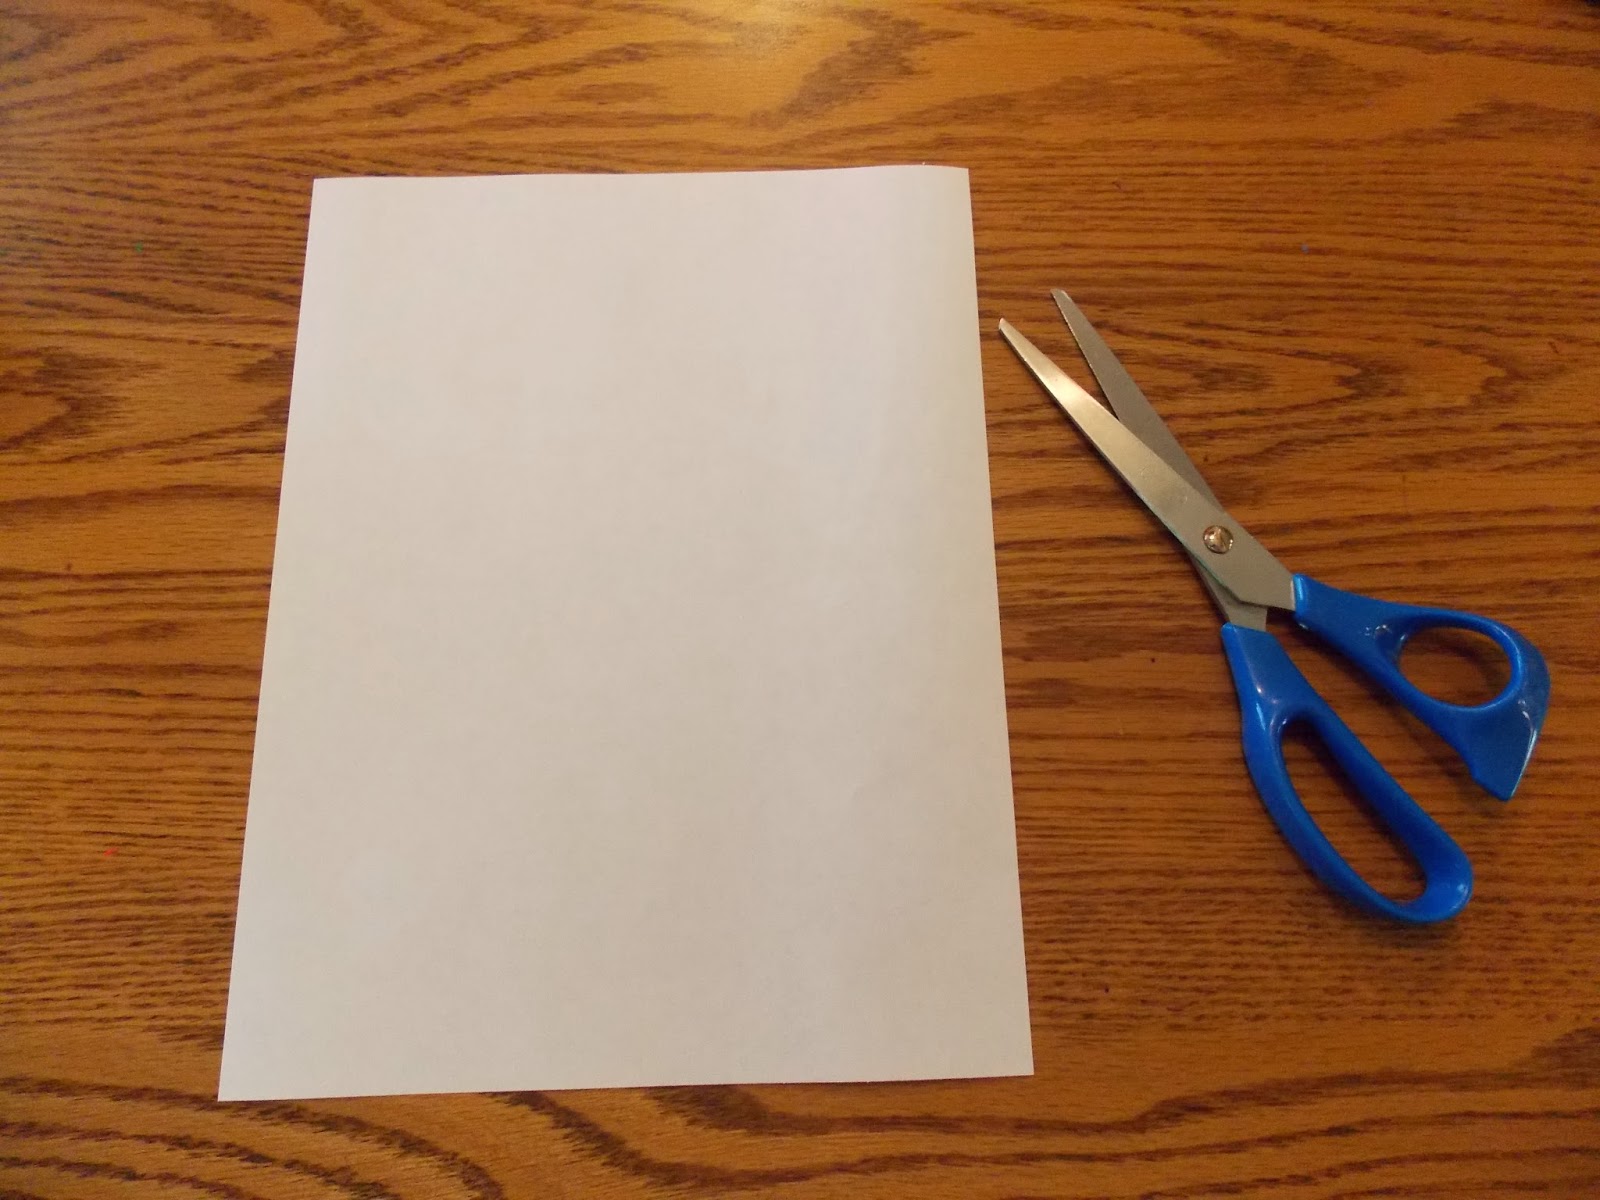
Gather up some white typing paper,
(oops - guess it's called computer paper now!)
and some scissors....that's it!
...unless you want to add some homemade hot cocoa and sugar cookies!
That's an awesome idea!
 
Start with an 81/2"x 11" paper
Fold the bottom edge up to match the left edge of the paper,
and crease the fold
Cut off and discard the excess piece of paper.
You should have a triangle with one fold.
(if you were to open the fold, you would see it is now cut into a perfect square)
Fold the triangle in half again,
and a third time.
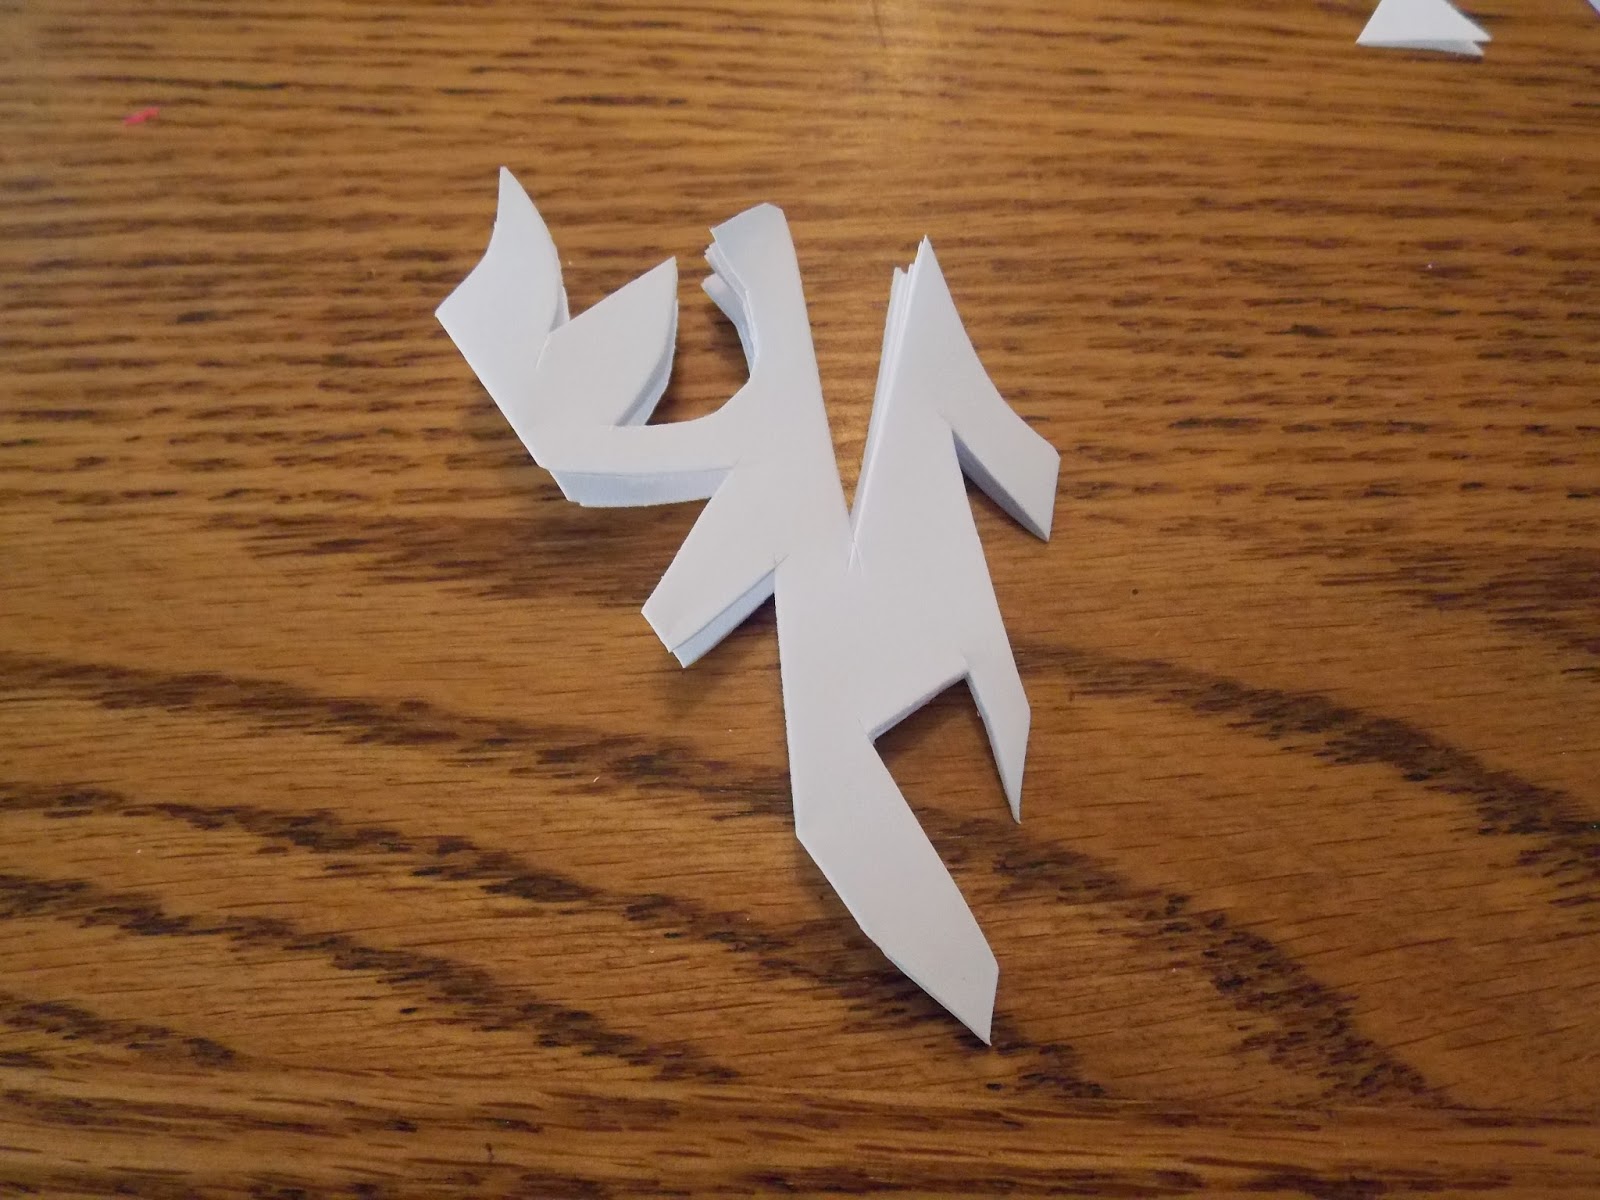
Now you can start cutting your snowflake.
To make it easier, I have diagrammed four snowflakes
by drawing my "cutting lines" with a sharpie marker.
If you would like to draw your shapes first, too...
I suggest using a pencil.
Tips for a pretty snowflake:
1. Leave some of the "folded" paper "uncut"
2. Keep your shapes simple: triangles, half circles, etc...
3.  When cutting out shapes, look at the "positive" shapes left behind
(that is, the paper shape)
4.  Don't make your cuts too small.  You want larger shapes cut out of the snowflake.
Cut out the shapes...
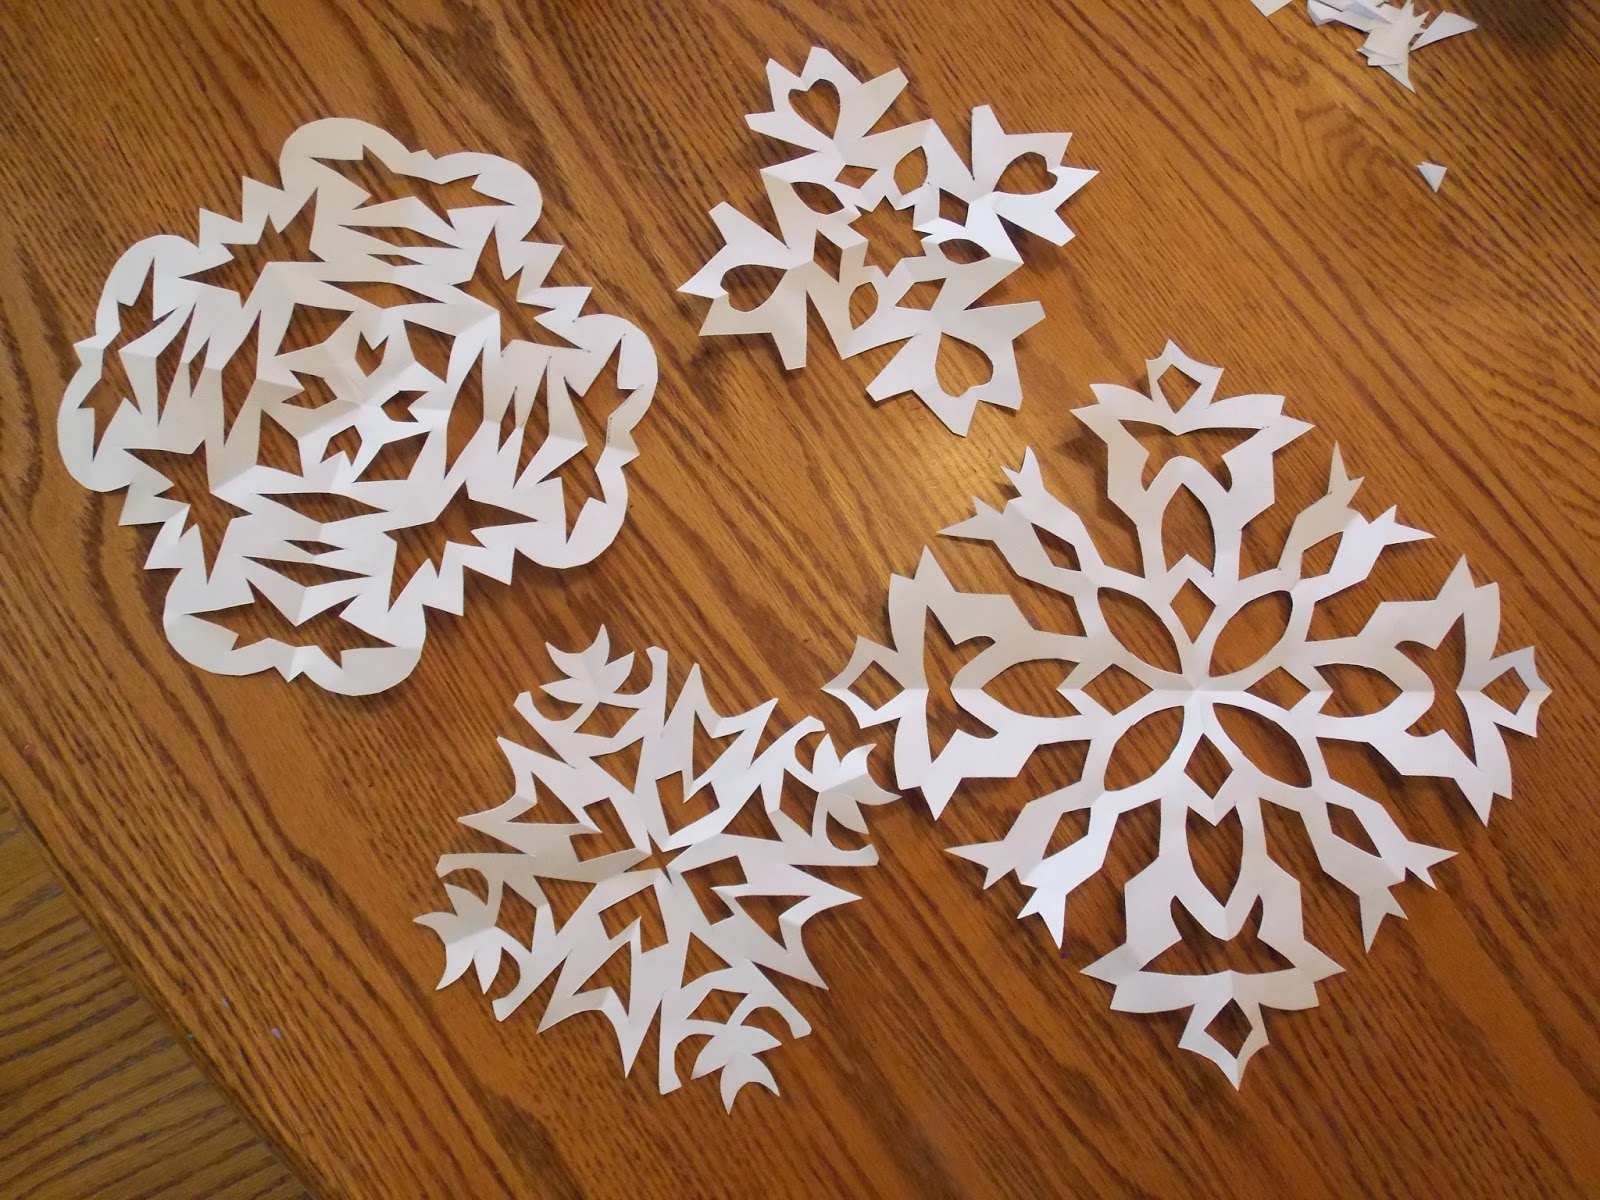
Now the magic!
This was my favorite part as a kid...
unfolding the snowflake to reveal it's beauty!
...half way there...
duh duhm!
Wah-lah!
I like to make two sizes of snowflakes
to use the most of the paper.
I will make two out of one sheet.
Fold the paper in half,
hotdog style (fat wise).
Now fold the right side edge up to the top edge.
Crease fold.
Trim and discard the excess.
Open the paper
and cut in half for two future snowflakes.
Again, fold these like the larger one.
In half....
half again....
and again.
I have drawn another pattern for you to see.
I have used a sharpie just so you can see the lines.
Remember to keep the shapes simple
and leave some of the folded edges in contact
or your snowflake will fall apart.
Oops! I made a mark too close to another edge,
if I would have cut this, it could've caused
the snowflake to tear, don't want that!
So I adjusted my cut.
Now the magic....
Yay!
And another one...
I didn't "mark" the shapes on this one,
but just began cutting.
After you've made a few,
you will be comfortable doing this too.
I never know what they will look like...
I really like this one!
This one has a little more detailed cuts,
don't know if I'll like it or not, but we'll see.
Ok, that's different!
But each snowflake is supposed to be unique,
no two alike!
These are the snowflakes I just did.
Now, what to do with them?
I like to slip a folded snowflake into each Christmas Card I send,
a little extra surprise.
You can also hang them from fishing wire from the ceiling or window,
or actually attach them to the window like stickers,
here's how:
In a well ventilated area
spray an even coating of Spray Adhesive
(I use Elmer's)
Make sure that it has listed for "temporary" adhesion.
Follow directions.
For Elmer's, I simply spray the open snowflake evenly,
let sit for 3 to 4 minutes
then press onto the window.
To make sure it adheres evenly,
I take a clean white paper
and lay it over the snowflake on the window,
then rub the snowflake into the window.
It will simply peel off when your ready
and clean glass with vinegar or window cleaner.
(note: if you have a lot of condensation on your windows throughout
the season, the snowflakes may come off)
The snowflakes can also be adhered to mirrors.
Very festive!
Hope you make Paper Snowflakes a Christmas tradition
in your family!
Keep Calm and Kerri On!


Thursday, October 17, 2013

Packing a 3 Day Disaster Emergency Kit

We live in Oklahoma.  Tornadoes.  Need I say more?
So I have decided to prepare by not only ordering
the installation of a Tornado Shelter
but am preparing a kit,
just in case.
Here is a look at most of my supplies...
although I will be getting more food and water together.
I made a small first aid kit by filling a plastic food storage box with:
Band-aids
Non-stick pads
Bandage Wrap Roll
Blistex
Motion Sickness (helps with the stomach bug for us)
Anti-biotic Cream
Other items:
Aleve
Aspirin
Hand Sanitizer
Hydrogen Peroxide
Iodine (to purify water supply)
Toilet Paper
Wet Wipes
Sandwich Bags
My mother always taught me to keep a candle in a can, and have matches handy
at all times, especially when traveling.  The candle will heat up the can and provide warmth.
Candle
Empty Can
Matches in a ziplock bag
Can Opener
Fishing Wire
Duct Tape
Whistle/Compass
Scissors
Multi-tool
Para cord
More Hand Sanitizer
Tooth brushes for each person
(probably need some toothpaste, huh?)
Soap
Food
Enough for each person for 3 days
(I'll be getting more!)
I found a great buy on Mylar Foil Blankets.
They really will keep you warm.
Water
1 gallon per person for one day.
You should have enough for 3 days.
Note to self:  buy some gallons of water!
Be sure to check safety instructions on storing water,
I know they say not to let plastic water bottles get hot.
Keep some markers, paper and large scissors handy.
You might need to leave a note or message at or on your property
after a disaster to let people know you got out, etc.
I stored all of this in a large backpack
(minus the gallons of water).
You should also keep FLASHLIGHTS and BATTERIES.
Update your bag by rotating perishable food out every few months.
 
Now to get the underground shelter installed.
Remember the 5 P's:
Prior Planning Prevents Poor Performance!
(thanks to my Dad for teaching me the 5 P's)
 
Keep Calm and Kerri On!