Tuesday, February 26, 2013

DIY Glass Mushroom Garden Decor


Forget spending money on those expensive garden statues and decor.
Create beautiful items yourself with things you already have around the house.
Imagine the joy you will feel walking through your garden.., and there blooms a mushroom made from Aunt Thelma's vase and Grandma's cookie jar (that you accidentally broke the top to) among your flowers!
All you will need is a glass or ceramic vase
a medium to large sized bowl (or in my case, a cookie jar) 
that flares out at the top (shorter than the vase)
E6000 glue
Stack the dishes on top of each other (my vase looked best "upside down")
 and notice where the two touch...
Squeeze a generous amount of E6000 glue around that edge of the vase.
 
Center the bowl "upside down" on top.
Let dry 24 hours before touching or moving.

That's it!
Now you have your own decorative mushroom decor in your garden.
Pat yourself on the back...and Keep Calm and Kerri On!

p.s.  For other ideas for your garden, check out my other posts:  DIY Garden Totems and
Gardner's Hand Scrub.  More posts to come!  Thank you.

Saturday, February 23, 2013

DIY Toilet Paper Holder

Need those toilet paper rolls handy? But no room below the sink?
Make your own to match your bathroom decor!
SUPPLIES:
Large Empty Oat Container
Gift Wrap Paper or Fabric of Your Choice
Scissors
Hot Glue Gun and Glue Sticks
Matching Trim (I made a crochet chain)
Mod Podge or White Glue

1.  Remove the label from the oat container and shake/wipe out any crumbs.
2.  Cut the gift wrap paper or fabric to the length of the container. Cut it long enough to wrap around the cylinder and add 1".
3.  Using the hot glue gun, run a glue line down the length of the container, gluing the edge of the paper to it.
4.  Lay the container down on the table, Wrap the remaining paper around the container, (fold over the edge by 1/4" to give it a nice straight edge) and run a glue line down the inside of the paper edge and glue to the container.
5.  Cut a circle of paper or fabric for the container lid.  Mod Podge or glue to the top.

 
6.  Hot glue your trim around the bottom edge and around the lid if preferred.


Now drop a few rolls of toilet paper inside, and place in your bathroom!
 
Now, Keep Calm (there's toilet paper handy)....
and Kerri On!


Thursday, February 21, 2013

DIY Garden Totem

Last week I had a contest on my facebook page...the winner gets to make a Garden Totem Pole with me,  to keep.  I provided the supplies and the instructions.  The winner was Sherry!

This is Sherry with her completed Garden Totem Pole.
Below, is instructions on how to make your own totem pole with dishes you might have around the house, attic or garage. (you can always pick up some dishes at your local Goodwill, dollar store, or second-hand store)
Above is a picture of my own Garden Totem, using mismatched dishes from my mother, grandmother and a hummingbird feeder ball that my son gave me.
Get out all of your dishes you don't know what to do with.
For this craft, you will need an assortment of dishes in different sizes.
For the pole: bowls; plates; saucers; vases; goblets; glasses
For the top piece: a glass or ceramic trinket; tea pot; tea cup; etc....
Give your dishes a bath...dry...
then clean off any labels and wipe down with rubbing alcohol.
Stack them in different ways until you find something you like.
The bottom piece MUST be a taller item with a hole in it....like a flower vase.
 (this will fit over a rod or pole that is in the ground - keeping your garden totem "upright")
Secure your bottom piece upside down in an extra medium sized bowl or container with popcorn kernels, sand, rice or something that will hold the vase in place while you glue all of the parts together.
Now, using a waterproof glue that works with glass (like E6000)
glue the pieces together.
Two pair of hands work better than one....make sure you center each piece.
Let the pieces dry for 24 hours before moving, lifting, or putting outside.
This Garden Totem Pole will be standing in Sherry's garden this spring
 with her beautiful flowers all around it. 
When you are ready to stand your pole in the ground, use an 18" or taller x 1/2" up to 1" rebar or metal pole of your choice. Mark the place the vase bottom reaches to after inserting the rod.  Push the rod into the ground to that line.  Put the Totem Pole on top.  If it jiggles, you can wrap duct tape around the rod for a snug fit into the bottom vase piece.
We have snow, so the garden totems are hidden away until warmer weather...but this is a great craft to do while you are stuck inside.

Pictures of the Garden Totem Poles in the Garden
to come this spring.....
Keep Calm and Kerri On!


Monday, February 18, 2013

The Elvis (sandwich)


A "hunka-hunka" Fried Peanut Butter and Banana Sandwich

 
Here's a picture of "The King" eating what could have been his favorite sandwich:
A fried Peanut Butter and Banana...
(some believe he added bacon to it occasionally!)
Below is the recipe for my version of Elvis's Sandwich:
I mix two parts smooth peanut butter with one part honey.
 Oh look!...it made a heart!...
"Love Me Tender"
Spread a light coat of the pb & honey mixture on two slices of bread.
Slice a banana on top of one of the bread slices.
 Don't mash the banana....
"Don't Be Cruel"

Put the sandwich together...so there's bread, pb&h, banana, pb&h, bread...
Fry each side in butter in a medium-hot pan....
"Hunka-hunka burnin' love!"
Until nice and golden.... about the color of Ann Margret's hair in...
 
"Viva Las Vegas"
I sprinkle cinnamon sugar on both sides and serve it while it's still warm.
Put on my "Blue Suede Shoes" and enjoy.
This is so good, it could make the "Jail House Rock"!
 
Keep Calm and Kerri On....Elvis has left the building.


Watercolor Iris - my newest painting

My newest painting: a watercolor Iris for my sister Lindy.
This is what it looks like in the frame.  The size of the painting (un-matted) is 11"x16". 
Happy Birthday Lindy!
Keep Calm and Kerri On!

Sunday, February 17, 2013

Downton Abbey Inspired: Sterling Silver


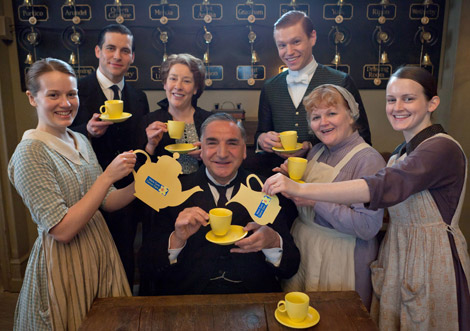
I have been watching "Downton Abbey", and  am in love with the era, the decor, the fashion, the characters and of course "tea time" with the Sterling  Silver serving pieces.
Why can't we bring some of that into our homes?
We can!  Especially when we know where to look...

First of all, what is"sterling silver"?
 
By definition and international agreement "sterling" silver is 92.5% pure silver and 7.5% some other material - usually copper. The 92.5% is why jewelry is often stamped with the numbers 925 or .925.
Pure silver is a very soft metal. It can bend or break easily. Adding another, more durable, metal to the mix ensures that your silver jewelry will last a lot longer, and look a lot nicer down the road. So really, sterling silver - although not pure - is usually the better option when choosing jewelry.

It is quite a process to test for real silver, if the "925" is not engraved on the object.  One easy way to tell, is by using a magnet.  Silver is NOT magnetic.  There are also silver polish testing kits. Whether you purchase real silver, silver plated or fake silver, it is all very pretty!
Where to buy sterling silver at prices you can afford?
I found all of the above pieces at Goodwill and second hand stores.
(All but one of my pieces is sterling silver plated)
The highest I paid for an item was $5 (the platter) and the cheapest - $2 (for the goblet).
I can't promise that you'll find items at those prices....but it is amazing what people will get rid of. "One man's trash is another man's treasure." - in this case "woman".
I seem to find a piece every few months for sell.  I just keep going back to the stores until I find a piece I like.  I am still on the look-out for a sterling silver tea pot. 
 
 
I prefer to leave my silver tarnished for an antiqued look.  But if you would like to polish your silver, like on Downton Abbey, there are several products for sell, as well as information on the web.
 

Now, I don't have a fancy house, in fact, I try to keep it simple.  But I believe in decorating and using  items you love, and I love the silver.  Therefore my house represents who I am.  So don't worry that the silver looks too fancy or out of date, it will work.
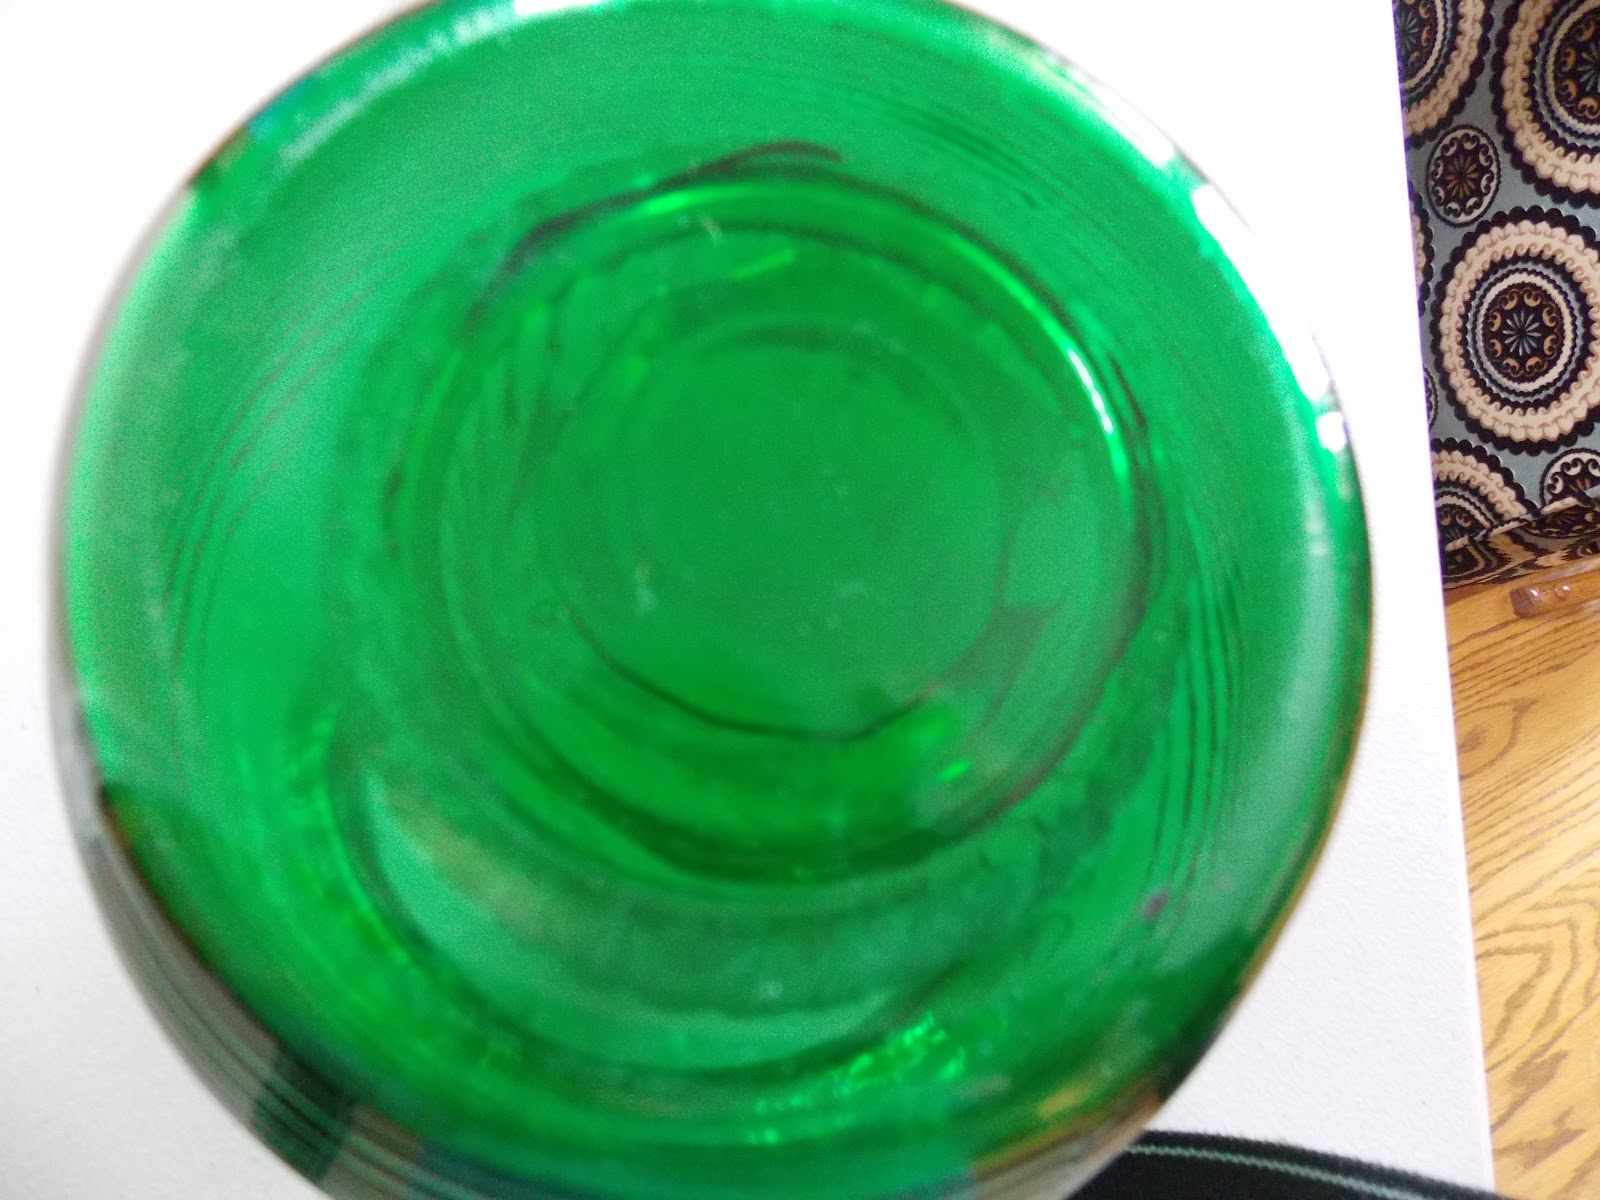
I am using my silver sterling dishes on my coffee/tea bar.  I display them with my green milk glass and my green depression glass.  I use my little serving spoons in the "Treble Clef" pattern that I bought recently from Amazon.  An "ecclectic" display...but it works.
Don't worry about having the perfect place to display your silver, if you love it, use it! 
It will make you feel special....and you can day dream of tea with the Crawley's!
Keep Calm and Kerri On!


Friday, February 15, 2013

Chicken & Noodles: Kansas Style

This is the way we make Chicken and Noodles back home in Kansas.
A classic, comfort food ALWAYS served atop mashed potatoes.
I started in the morning....so I cooked my whole chicken in the crock pot w/chicken broth (or use water) on high for 4 hours.  I like to season the water or broth at this time w/salt, pepper and garlic.
But you can also boil the chicken in a large pot, on the stove.
When it is done...take out the chicken (it should be falling off the bone) and let it cool.
Then you "pick" the chicken - separating the meat from the bones, grissel and skin.
Other ingredients you'll need:
Egg Noodles (we like Reames frozen noodles - they taste like Mom's)
a small onion (chopped)
a hand full of carrots (chopped)
1 lg. box of Chicken Broth or Stock
Garlic Powder to taste
Salt and Pepper to taste
2 Tbsp. Butter
2 Tbsp. Olive Oil
*Consider adding your favorite herbs - we like fresh Rosemary, Parsley and/or Bay leaves.

While the chicken is cooling, Saute the onions and carrots in the butter and oil.
Cook until the onions are translucent.
Pour in the entire bag of noodles.
Drain the chicken broth (from cooking the chicken) into the pot.
Pour in the box of broth and enough water to cover the noodles by 2".
Bring to a boil, cover the pot and reduce heat, cooking the noodles until tender.
(about 25 minutes)
Season the pot with more salt, pepper and garlic powder to taste.
Add in the "picked" chicken meat (cut or torn into bite sized pieces).
Let simmer for at least 30 minutes before serving to incorporate all of the flavors.
Serve over REAL mashed potatoes, great sides are green beans and hot rolls or biscuits.
Nom, nom, nom.
(My husband loves the left-overs for lunch at work, he swears they're even better the next day.)
 
Enjoy the comfort food.
Keep Calm and Kerri On!


Thursday, February 14, 2013

DIY "Goo B Gone"

Need to clean a label off of a  jar, sticky spot on the floor or get a  stubborn sticker off?
Can' t find your bottle of "Goo Gone"?
Make your own!
When I couldn't get a stubborn spaghetti sauce label cleaned off a jar, I searched Pinterest for a solution.  Sure enough, number-2-pencil, had the following recipe.
Here is a link to her blog: 
http://www.number-2-pencil.com/
The recipe is very simple:
Mix one part vegetable oil to 2 parts baking soda.
 Store at room temp. in jar or plastic container.
I tried it, and sure enough, after just a little bit of elbow grease, the sticky remains of the label started to disappear.  I then washed the jar with a grease cutting dish soap (I like Dawn), and it was as good as new.  I couldn't believe I had the stuff all along.  I just needed to get "educated"...after all, our grandmothers probably knew this trick....but we just sort of fall into the "it's for sell" catagory. 
Well, now I know (and you too) sometimes DIY is just as good, or better!
Thanks number-2-pencil!
 Be sure to Keep Calm and Kerri On while you get rid of the sticky messes in your life!


Strawberry Lemon Trifle

Need a FANCY dessert, that is simple to make?
  This dessert should do the trick!
Strawberry Lemon Trifle
This is a layered dessert served in a "trifle bowl", a footed serving bowl. If you do not have a trifle bowl, consider making one yourself, see my previous post on "DIY Tiered Trays"....the same concept can be used to turn a simple bowl and candlestick holder, or goblet into a pretty serving piece.
Ingredients:
Lemon Cake Mix (baked as directed on the package)
1 Carton of Frozen Sliced, Sweetened Strawberries (thawed & drain most of the juice)
*note - don't throw out the juice - it's great to flavor water or tea!
1 lg. Container of Strawberry Yogurt
1 lg. Container of Whipped Topping
1 sm. pkg. of White Chocolate Instant Pudding (mixed w/ 1-3/4 cup milk)

After the cake has cooled, score it into bite-sized pieces. (You will be using only half of the cake, I freeze the rest to use later.) Mix the pudding w/the milk and blend in the strawberry yogurt.  Set aside.  Now to start layering....Start with 1/2 of the cake pieces (1/4 of the cake) on the bottom of the trifle... 1/2 of the yogurt/pudding mixture....1/2 of the strawberries...and about 2 cups of the whipped topping...

Repeat the layers, stopping after the strawberries.   To make the top pretty, I like to "pipe" the whipped topping into a decorative pattern.  To do this, simply scoop some of the topping into a lg. zip-lock bag.  Squish it down to the end, twisting the top - so nothing spills out, and clip the end off.
Now refrigerate until serving time.
You will want to make and serve this the same day to avoid it getting soggy.
We don't want that!  But I doubt it would last untouched that long....cause it looks (and tastes) soooo delicious!
 
Fancy desserts can be simple and quick when you "Keep Calm and Kerri On"!