
Upcycle some buttons into fun rings.
YOU CAN ALSO WATCH MY YOU TUBE VIDEO
ON HOW TO MAKE THESE RINGS AT:
Above is a ring I made out of three buttons - the top one is a silver button from a jacket.

The ring above is made from two buttons and a silver bead.
See below for instructions.

Supplies you will need:
A Ring Mandrel or magic marker (something that can be used to make the ring the correct size)
Ring sizers (optional)
Assorted Buttons (not shank buttons)
(grandma's buttons or buttons from old clothes or find at a craft store)
22 gauge wire from the craft store (I used silver non-tarnish)
Jewelry Pliers (cutters, flat nose, and round nose)

Pick two or three buttons for your ring...
stack them up - switch and swap
until you find a combo you like.
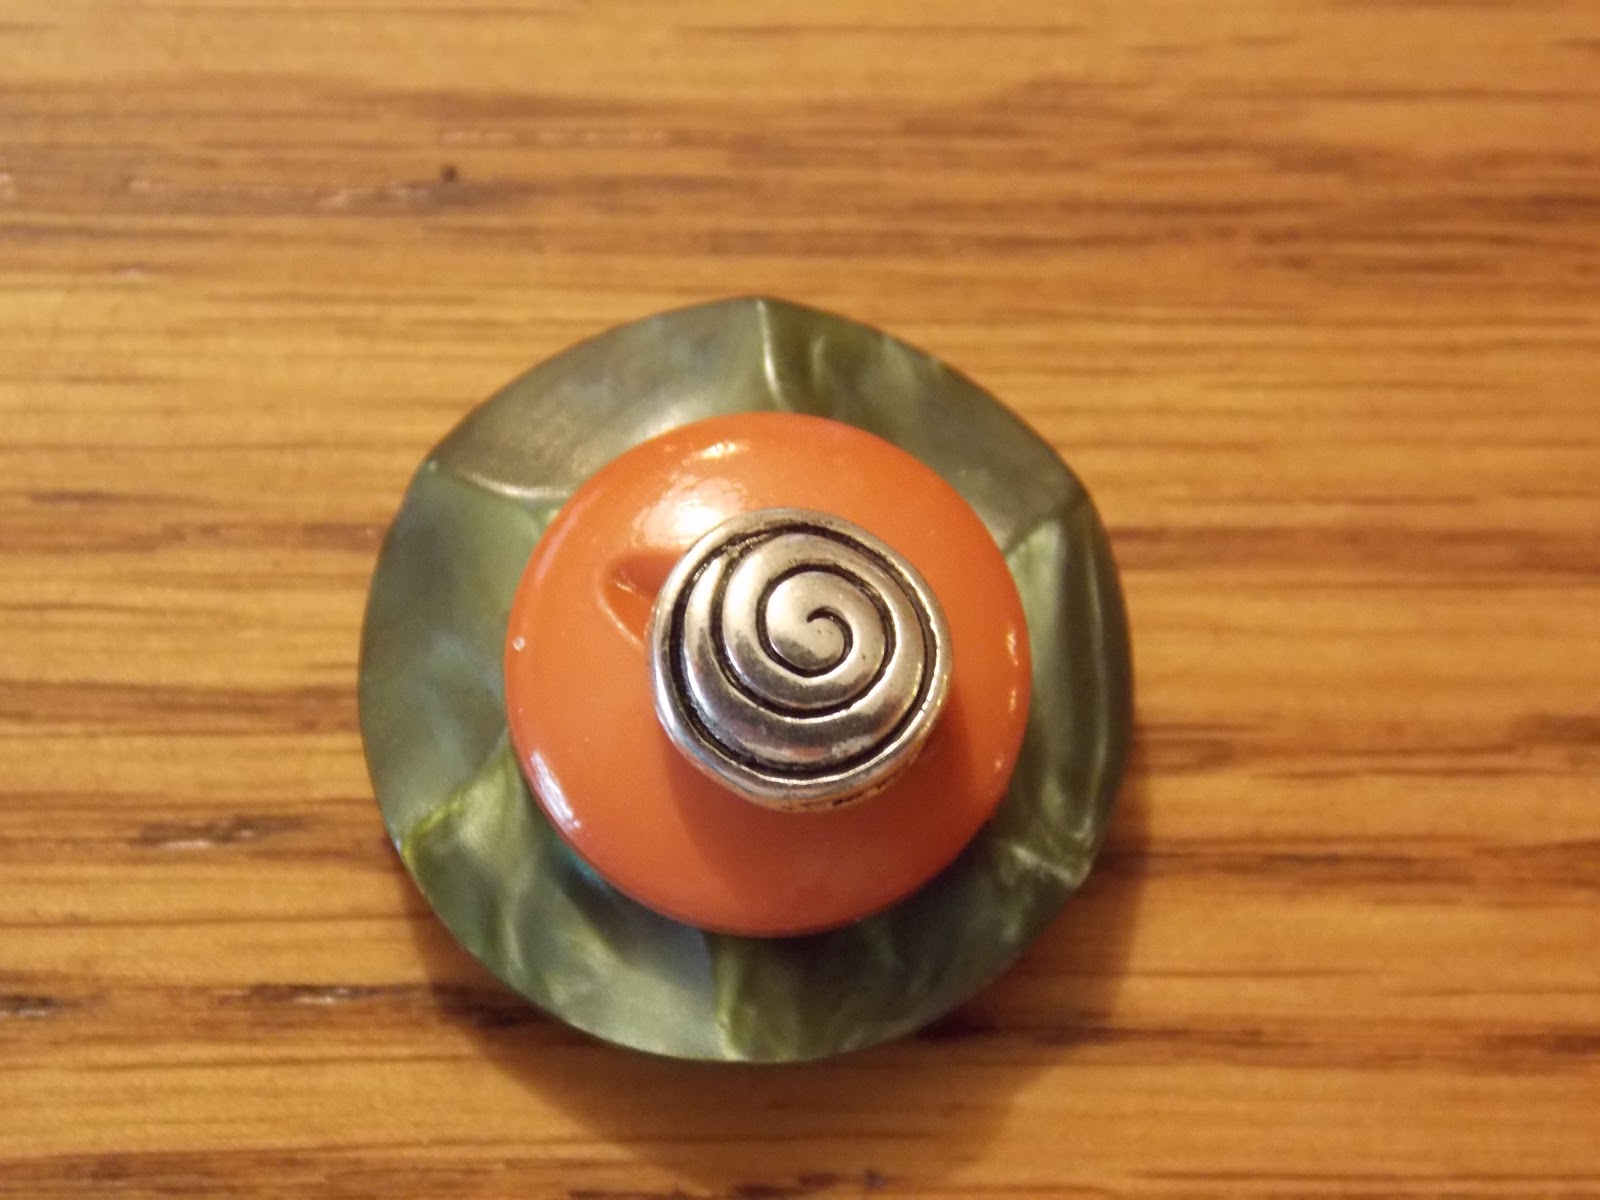
For this green and orange ring I added a bead for interest.

Measure your finger and check the size...remember you can choose "any" finger...
Don't have a mandrel? Don't worry -
simply slide one of your rings onto various tubular objects like markers or chap sticks, until you find one that is the same size or slightly larger.

When using the mandrel - you will need to go UP a complete size.
If using a chap stick or marker for a mandrel -
just remember the ring will be smaller than the size of the tube.
Cut about 18" of wire....
find the center and wrap around the mandrel five times,
at the appropriate ring size (remember to add ONE full size)
twisting once to secure...see above picture...

Slip the buttons onto the two wire ends,

the largest one first, ending with the smallest.
(the wire will start to twist, but will straighten out as they get closer together)

If using a bead, slip both ends through the bead
and work down to join the buttons...

If you are NOT using a bead for the top,
and want to create a rosette or spiral on the top...

Simply twist one wire tightly around the center, followed by the other.

Separate the two ends to point out toward the outside of the ring...

Take the ring off the mandrel, and hold with your thumb inside the ring.
Wrap one side of the wire underneath the ring.
Be sure not to "pull" the wire too tight, as this will "offset" the top of the ring.

Wrap the wire five times around the band, creating a wrapped row.

Cut the ends to about 1/2 an inch...
Using the round nose pliers, curl a small circle at the end...

Grab the circle with the flat nosed pliers and continue to spiral.

At the end, "fold" up the wire to lay on top of the five little rows.
Squeeze the rosette and band together with the flat nosed pliers to secure.
REPEAT on the other side.
Have fun with this...and remember...
PRACTICE makes PERFECT
Don't get discourages if the first one doesn't come out right,
it took me several times.
These make great gifts!
Be sure to check out my video for making these button rings at:
http://www.youtube.com/watch?v=QyiZn_VSBx4
Keep Calm and Kerri On!
No comments:
Post a Comment